

When you walk into a bathroom and see a gleaming, uninterrupted pane of glass framing the shower, it’s hard not to be impressed. Frameless glass shower doors are more than a trend, they’re a statement of modern design, openness, and sheer elegance.
Why Choose a Frameless Glass Shower Door?
Unlike bulky, metal-framed doors or plastic curtains, frameless designs rely on thick tempered glass and minimal hardware. The result? Maximum light, visual space, and a bathroom that feels bigger and more refined.
Benefits Over Traditional Shower Doors
Traditional framed doors can corrode, collect mold, and block light. Frameless glass, on the other hand, is resistant to corrosion, easier to clean, and doesn’t create dark, cramped corners. Plus, the lack of heavy framing means fewer places for grimy buildup.
Impact on Bathroom Aesthetics and Space
The clear, edge-to-edge look means your bathroom’s tilework becomes a feature, not just a backdrop. Especially in smaller bathrooms, frameless doors make the area feel open and uncluttered. You’ll notice the difference immediately.
Real-World Example: Transforming a Montreal Bathroom
In Montreal, designers often use frameless shower doors to modernize older bathrooms, seamlessly blending contemporary glass with classic architectural details. A recent renovation took a dated, cramped shower and, after one weekend and a custom glass installation, turned it into the centerpiece of the home.
Preparing for Installation
A flawless glass door installation begins long before the first screw goes in. Preparation is everything.
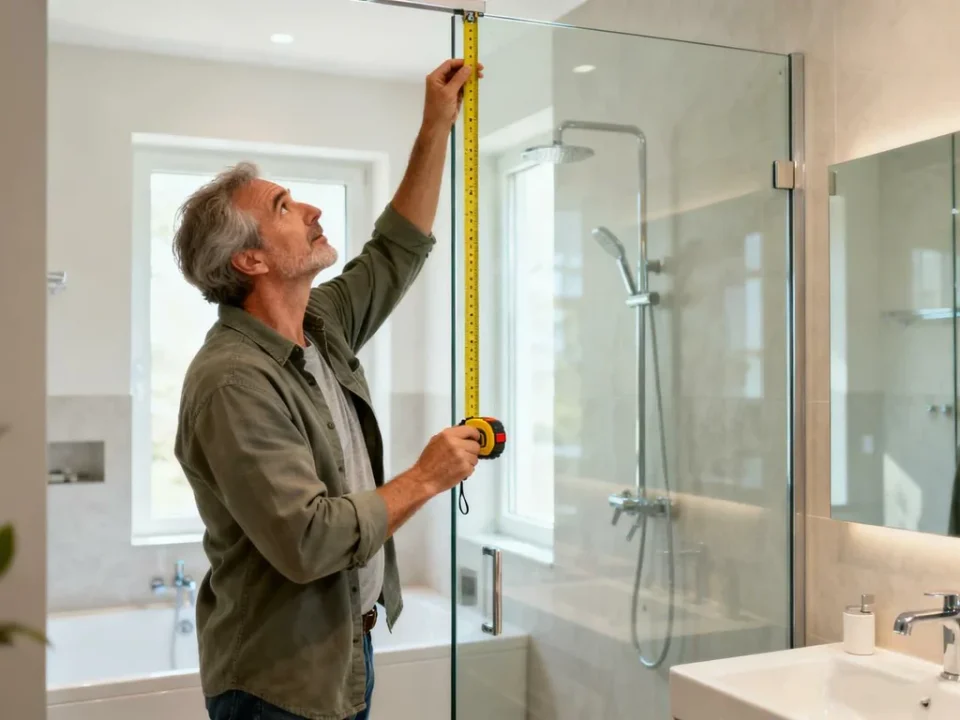
Measuring Your Shower Space Accurately
Getting exact measurements is critical. Any misstep could lead to expensive mistakes or even shattered glass.
– Measure the width at the top, middle, and bottom of the opening.
– Check the height from the base to where you want the top of the door.
– Factor in out-of-plumb walls.
Understanding Different Frameless Glass Door Types
There are swinging doors, sliders, and fixed panels. Hinged styles are popular for smaller spaces, while sliders work best for wider openings. The hardware finish, chrome, matte black, brass, sets the tone for your whole bathroom.
Tools and Materials Needed
Be ready with a tape measure, level, drill, anchors, safety gloves, silicone caulk, and the installation kit that comes with your glass door.
Case Study: Common Measurement Mistakes and How to Avoid Them
A homeowner in Laval ordered a custom glass panel, only to discover their wall bowed outward by a full centimeter. The solution? Always measure each side and use a level, not just a tape.
Step 1: Removing the Old Shower Door
Begin by clearing the area and protecting any tile or stone.
Safe Removal Techniques
Remove screws from the old frame, gently pry it free, and watch for shards or old caulk that could scratch the surfaces.
Dealing with Mold and Old Caulk
Clean thoroughly with a mildew remover and scrape away any stubborn caulk. This step ensures your silicone seals later on will actually stick.
Case Study: Salvaging Bathroom Tiles During Removal
A Montreal contractor faced cracked tiles after a hasty removal. Their fix? Use painter’s tape along tile edges and a plastic putty knife to minimize damage.
Step 2: Installing the Frame and Hardware
Lay out all parts and double-check the orientation.
Positioning the Bottom Track and Side Hinges
Mark your holes precisely. Drill pilot holes, insert anchors, then attach the bottom track and side hinges securely.
Using a Level to Ensure Proper Alignment
A level is your best friend. Even a slight tilt can cause glass to stress or the door to swing unevenly.
Real-World Tip: Working with Uneven Walls
If your wall isn’t perfectly straight, shim the hardware slightly, or use adjustable hinges to get things square.
Step 3: Mounting the Glass Panels
Now comes the exciting, and nerve-wracking, part.
Handling and Securing Heavy Glass Safely
Wear safety gloves and ensure someone helps you lift. Set the glass in the track, secure it with provided clips or hinges, and never force the fit.
Installing Door Handles and Seals
Attach handles and magnetic seals as per instructions. Double-check that seals align to prevent leaks.
Case Study: Overcoming Challenges with Customized Glass Sizes
A customer ordering portes de douche Vasca received panels sized to the millimeter. When a wall wasn’t square, the installer used clear rubber shims to achieve a perfect, gap-free fit.
Step 4: Sealing and Finishing Touches
The final step ensures lasting performance and beauty.
Applying Silicone Caulk for Waterproofing
Run a bead of silicone along all edges where frame meets tile. Smooth with a damp finger for a clean finish.
Adjusting Door Alignment and Checking for Gaps
Open and close the door multiple times, checking for smooth action and tight seals. Adjust as needed before the silicone sets.
Real-World Example: Ensuring Long-Term Durability in Humid Environments
Montreal’s humid summers can test any seal. Professionals recommend high-quality, mold-resistant silicone and annual checks to ensure watertight performance.
Troubleshooting Common Issues
Even careful installs can run into snags.
Door Misalignment and How to Fix It
Slight tweaks to hinge screws or shims often bring the door back into alignment.
Handling Leaks and Water Escaping
Reapply silicone where leaks occur, focusing on corners and along the bottom track.
Case Study: Quick Fixes from Professional Installers in Laval
Installers routinely fix leaky doors by replacing worn seals and tightening hardware, usually finishing the job in under an hour.
Maintaining Your Frameless Glass Shower Door
Proper care preserves clarity and function.
Cleaning Tips to Prevent Water Spots and Mold
Wipe down glass after each shower with a squeegee. Use a vinegar solution for stubborn spots.
Routine Checks and Hardware Tightening
Every few months, tighten handles and check seals for wear. Replace as needed.
Long-Term Care: Insights from Vasca Design Customers
Satisfied customers report that, with minimal regular care, their frameless glass doors stay spotless and sturdy for years. For more inspiration and options, consider browsing portes de douche Vasca for designs suited to any bathroom update.